Panorama
PANORAMA: A picture or series of pictures representing a continuous scene. (Some people would qualify this by requiring a picture to be at least twice as wide as it is high).
The simplest way of producing a panorama is to take a photograph at a distance and/or with a wide angle lens, then crop it down to a letterbox shape. My panoramas are created by stitching together several frames from an Olympus C5000Z digital camera.
My Learning Experience
(Click on small image to open a larger version in a new window.)
 Leisure Centre Nature Reserve
This is my first ever panoramic photograph. It was taken hand held, just to see how the Panorama mode
on my Olympus C5000Z worked.
It was automatically stitched in the Camedia software
provided with the camera. I used Paint Shop Pro 7 to do a little cloneing in the sky to cover some distortion
and cropped the picture. It is not a particularly photogenic scene but it hooked me
on panoramas!
 Our Famous Norman CastleYes this is my second attempt! This time I at least had the wit to
put the camera on a tripod. I used PTAssembler and Panorama Tools to stitch it together.
For those not familiar with the scene, The right side of the photo looks over the
harbour. Just to the right of the yellow tractor you can see the bow and cabin of a fishing boat.
 Railway Station
I'm still learning. There are a couple of things wrong here. I have by this time made
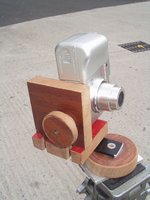
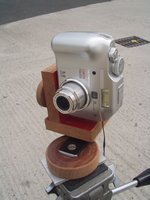
myself a pano head of sorts, but it has no tilt feature - at least none that will maintain
the camera at its' nodal point. For this reason the tops of the chimneys are lost.
The geography is such that I could get no further back and I think this is why the
building seems to be bent away from the viewer. It is not apparent from this low res.
picture, but the two right most frames are stitched through the Name Plate and there
is noticable distortion there.
Lesson learned: Plan where the frames will be stitched to avoid this sort of problem.

