Kite Aerial Photography
Rig 1
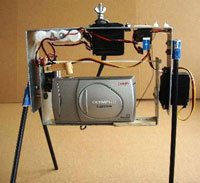
 I built a standard double U type rig from aluminium sheet salvaged from a disused sign at work.
It is operated by an old Hitech two channel radio that I have re-housed. The circut
and batteries fit in a small bag on my belt and the two pots. are now in an even smaller
bag and attached by flyleads to the circuit. I have used the two channels to get three functions.
This is a trick I learned when flying R/C gliders.
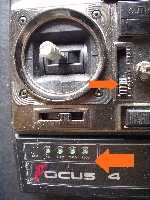
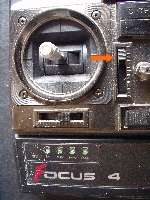
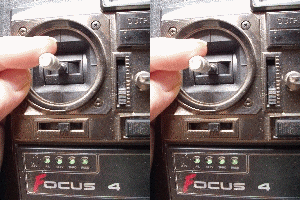
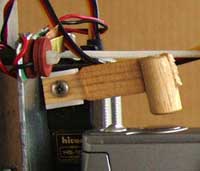
One channel works the tilt action. The other
presses the shutter, and at the opposite end of its travel, closes a switch for the
continuous rotation servo
on the pan axis.
You will see that the 'switch' is in fact just
two small pieces of brass held apart by fibre washers, assembled on a nylon bolt.
You will also see that I have tapped 2.4 volts off the 4.8 receiver pack to drive the dumb servo, instead of
providing a separate battery as suggested in the link above.
[UPDATE: I later discovered that tapping a
battery pack in this way is not a good idea as it leads to problems with battery life.]
Scott Haefner has provided excellent information about the
picavet
suspension system. My version has no pulleys, but works well enough.
The rig supports an Olympus C220 Digital camera. It only has 2 Megapixel resolution but I had it
to hand and was willing to risk its demise at the hands of an inexperienced KAPer.
First kite
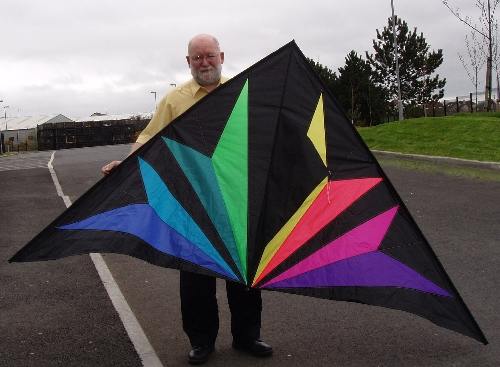 I bought a 9.5ft delta on two counts, (1) it was available and (2)it was not too
expensive. From reading a number of KAP sites I felt that the delta conyne was probably
a better choice, but I could not find one to buy.
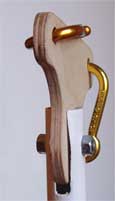
![]() It is advisable to have some method of tying off the kite line to free up your hands.
There are a number of options, the simplest being a carabiner normally used
by climbers. I found this to be unreliable as the line sometimes slipped. My second choice was a cleat
that I made from some stock aluminum bar. I had the material and knocked out two cleats in a morning using nothing more than a
hacksaw and file. I attached each of them to a loop of rope that is either attached to my belt or something more solid like a park bench.
It is advisable to have some method of tying off the kite line to free up your hands.
There are a number of options, the simplest being a carabiner normally used
by climbers. I found this to be unreliable as the line sometimes slipped. My second choice was a cleat
that I made from some stock aluminum bar. I had the material and knocked out two cleats in a morning using nothing more than a
hacksaw and file. I attached each of them to a loop of rope that is either attached to my belt or something more solid like a park bench.
First Flight
I don't know if I was more excited or afraid on the day I took my newly gathered equipment to a nearby field for the first time. The kite was quickly assembled and flew from my hand like a hawk released for the hunt. I stopped giving line at about fifty feet and the kite responded by rising to its zenith. I was duly impressed by the high angle to which it carried the line.
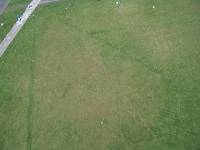 After a few minutes spent admiring this beauty, I decided that it was stable and strong enough to
entrust with the precious carge of camera rig. I attached the picavet, bolted on the rig,
and tested the radio. All in working order!
Another fifty or sixty feet of line was paid out and battle commenced. Well it felt
like a battle. My camera was carving the air like a demented dervish. I couldn't work
the radio with my gloves on and since I had not tied off the kite I had to pull the right
one off with my teeth. I hadn't taken that many pictures when the radio batteries gave out.
All that trial and testing at home had used more power than I imagined!
Well I managed to get the camera safely dismounted and stored away, followed soon after by the kite. I then collapsed into a crumpled heap in the car. I ended up with only one picture that was (nearly) worth keeping. Well I kept it anyway! The tiny white dot at the very top about 3/4 of the way accross is my kit. I missed myself by about two feet.
