Creative Challenge - Unbelievable

How to Create an Unbelievable Picture
My daughter and I had a brainstorming session about this. We decided there were two ways to go, 1) find something really unbelievable to photograph or 2) create an unbelievable situation.
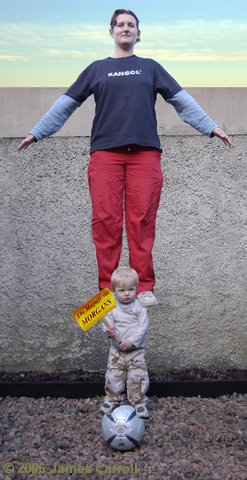
The second option seemed to me, the easier of the two. We discussed various cenarios and as in 'the one that got away' tradition, the ideas generated ever more outlandish situations. I eventually decided to create the image you see to the left. The necessary photographs were taken. The models are my daughter and grandson Aaron. Sorry that the background is not very photogenic but you surely agree that it is unbelievable!
The Magnificent Morgans


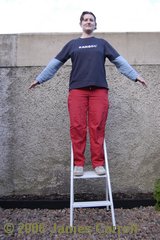
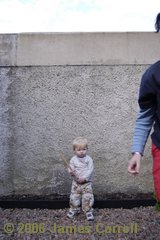
As already mentioned, I know the background is not very pretty, but I wanted something that would not be distracting and would also give a sense of height. The wall of my back garden was to hand and so were the performers! I set my camera on a tripod in a fairly low position looking up. Ruth stood on the steps so as to be at the correct height. This ensured that perspective in the final image would be correct. Aaron was not in a very helpful mood and after quite a number of attempts I finally managed to grab this one. Since he would not relinquish the stick, I put it to good use by creating a notice to go on it.
Method
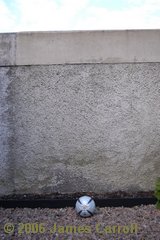
Merge the four perfectly beievable pictures into one unbelievable one.
I will keep the description short. The steps are easy to understand but take some
considerable time to get pixel perfect. (I am not claiming that mine are!)
First create the image of the sign from scratch using the type tool, then fill the background with the
gradient tool.
Take the first three images one at a time. Make a rough selection of the part you need
and then paste it into a new image as a layer.
Use the layer mask to tidy up, hiding all the pixels that you do not need. This method
allows you to correct mistakes easily. If you paint too much out, simply paint it back again.
Reposition the layers carefully.
Paste the notice to a new layer. It needs to have the perspective and scale changed
through the Edit> Transform> menu. Then do a little bit of smudging, and soften the edges.
Having got this far, I decided that the sky was too burned out and quickly substituted a
better one.